Brake upgrade DIY

#3
 01-15-2008, 11:01 PM
ORIGINAL: manufan
A fairly simple, affordable and effective upgrade. A8 312mm rotors with TT caliper carriers, to replace directly, the 288mm rotors and carriers of the A4's front brakes. WHEEL DIAMETER LIMITATION - no smaller than 16" diameter wheels.
1) After safely raising and supporting the front end of the car, remove the front wheels.
2) Beginning with the spring clip on the brake caliper, use a small flat blade screwdriver to lever the clip away from the caliper at the point where it enters the caliper.
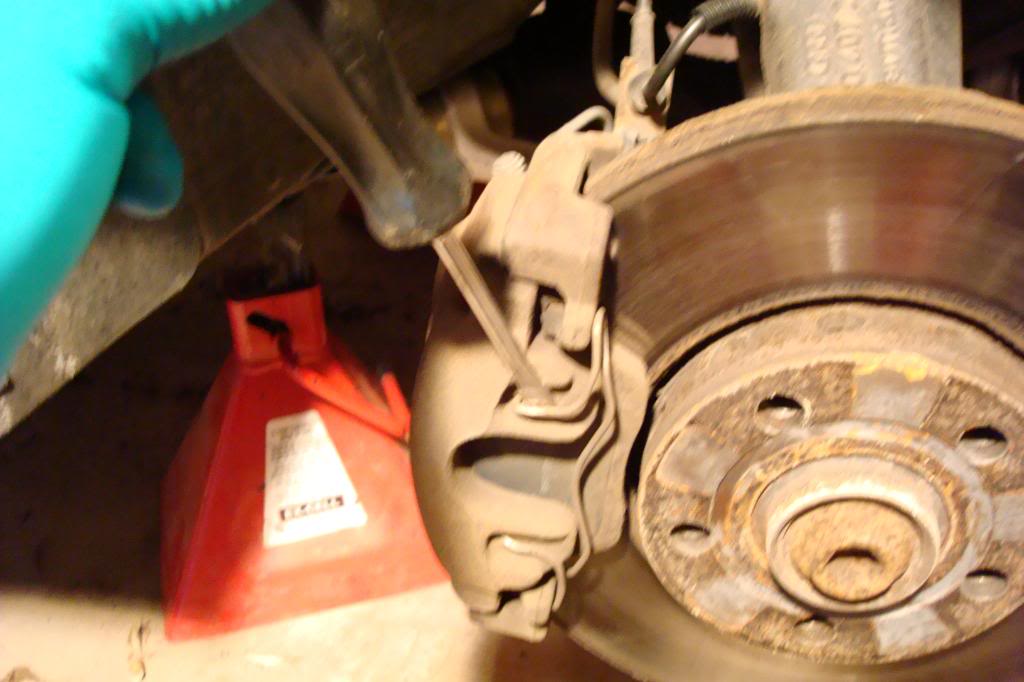
3) Locate the (2) plastic plugs on the back of the caliper, pry them out with the same flat blade screwdriver.
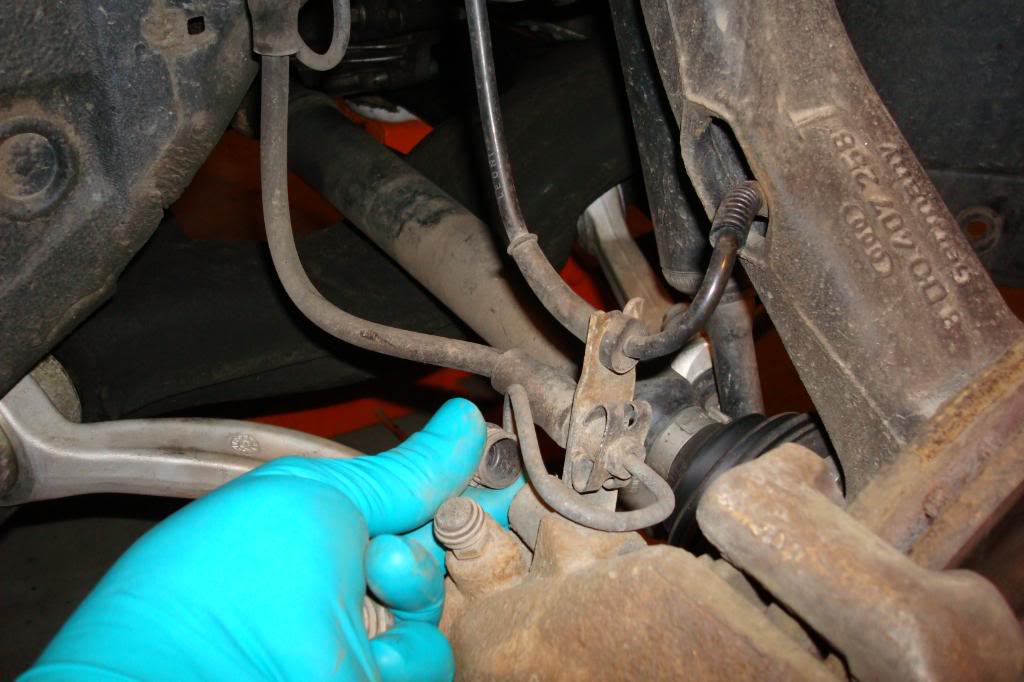
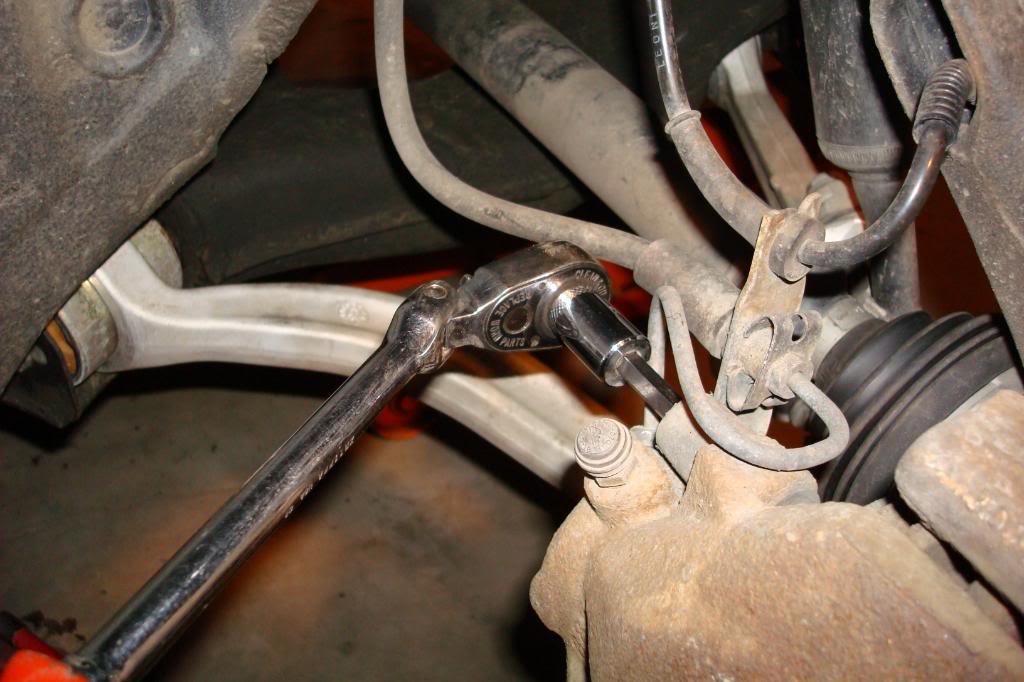
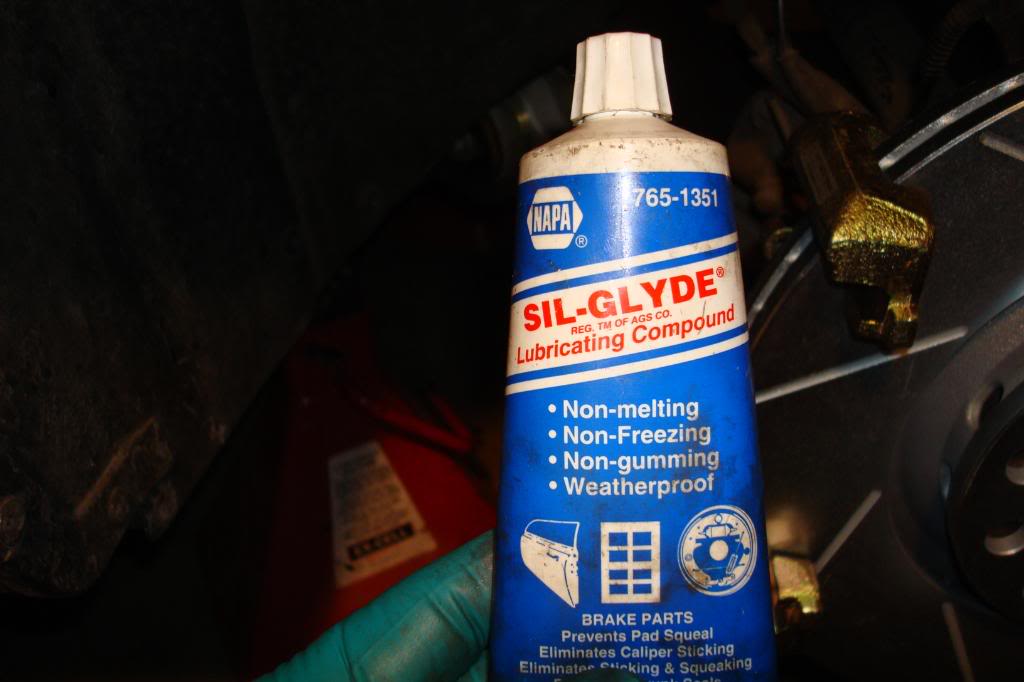
4) Using a 7mm allen and ratchet, remove the (2) caliper slider bolts. [Installation note] torque these bolts to 18 ft/lbs during re-assembly. Lightly coat the slider surface with silicone grease.
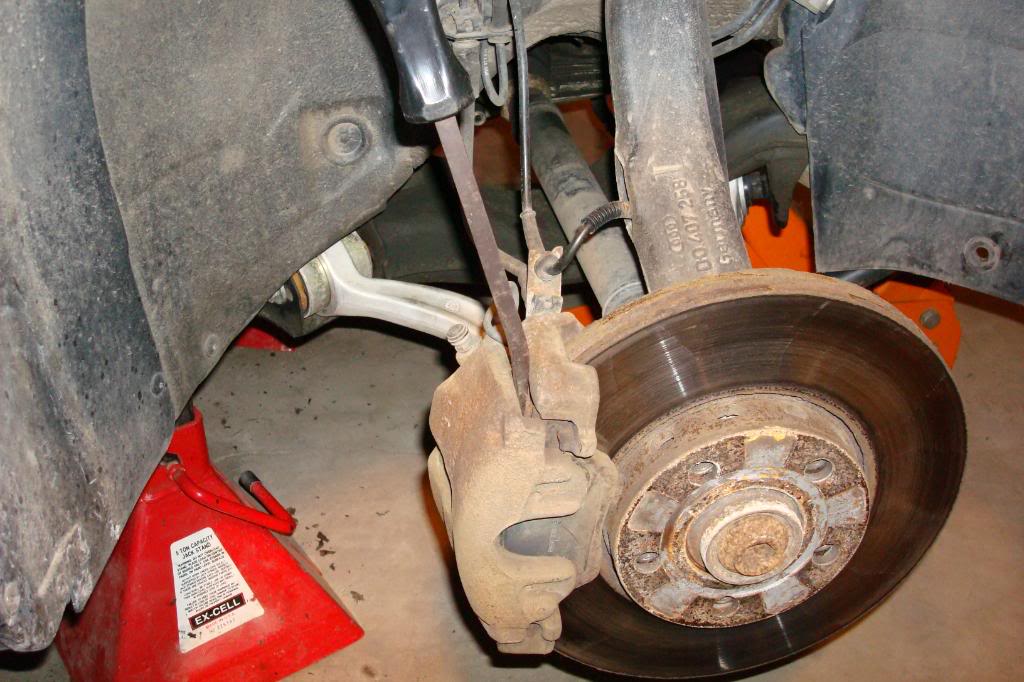
5) Using a small pry bar or large screwdriver remove the caliper from the rotor. Swing caliper around and rest it on the lower control arm. Do Not allow it to hang from the brake hose.
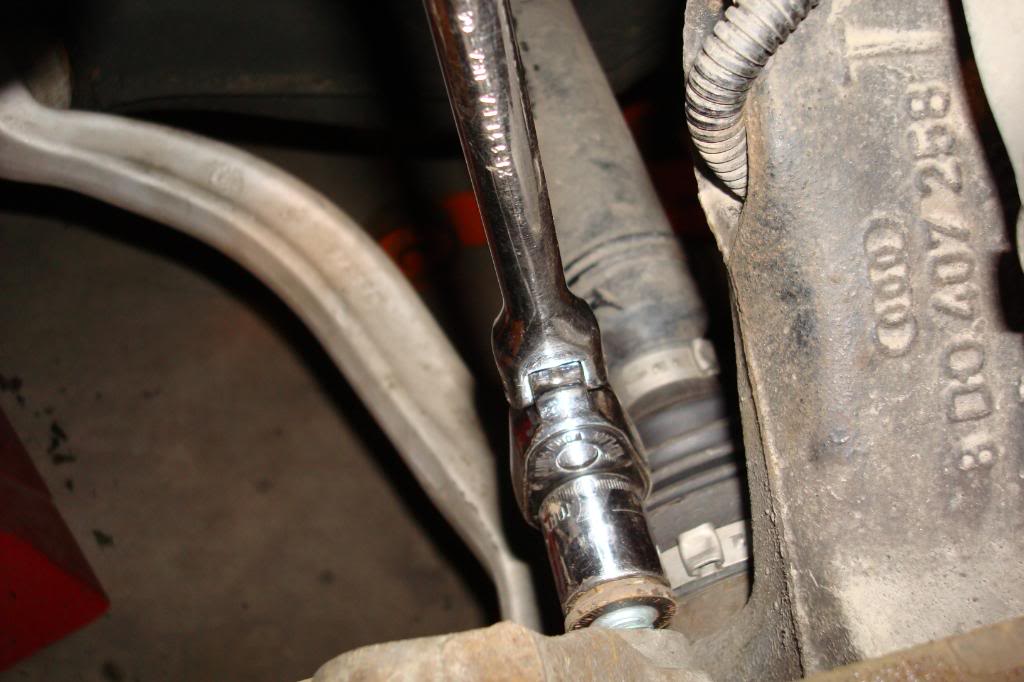
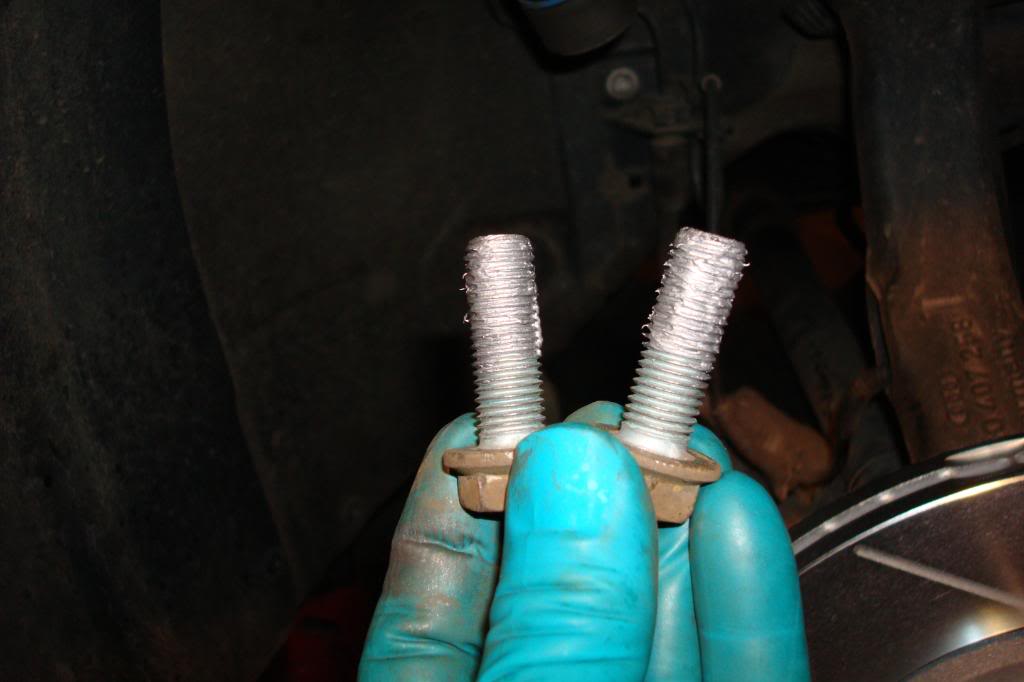
6) Locate the (2) bolts holding the caliper carrier to the spindle housing. Using a 17mm socket and long ratchet, remove these bolts. They're VERY tight. If available, an impact gun can be helpful with these. [Installation note] torque these bolts to 92 ft/lbs during re-assembly with a light coating of anti-seize on them
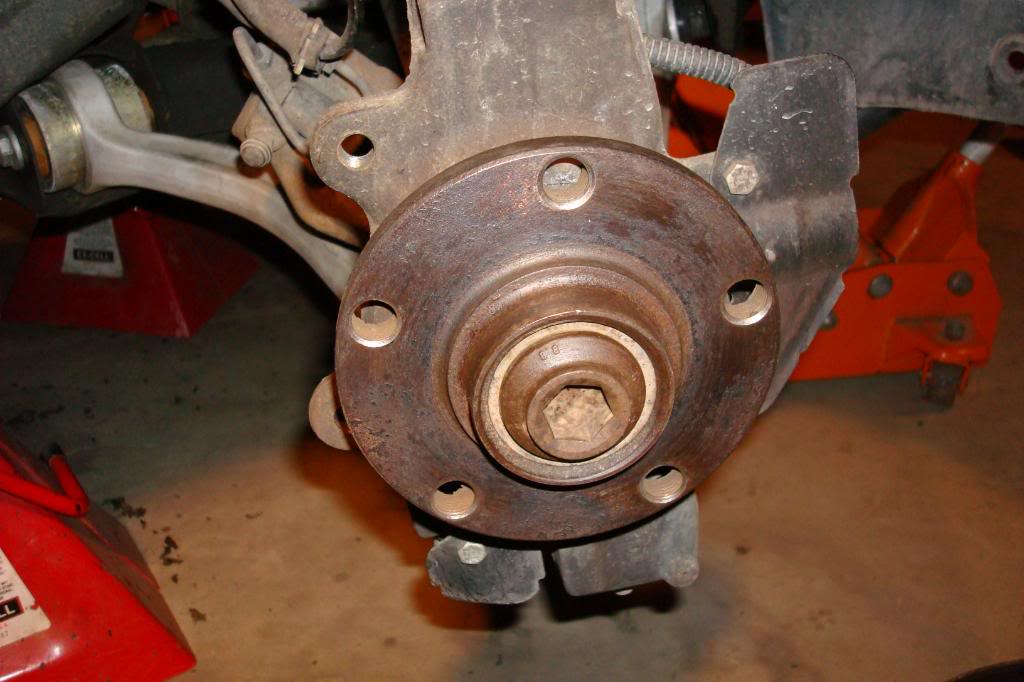
7) Remove the caliper carrier and rotor. The rotor will fall off of the hub once the carrier is removed, use care to keep it from falling on your foot.
8) Using a wire brush and light oil, clean off the rust/scale from the hub.
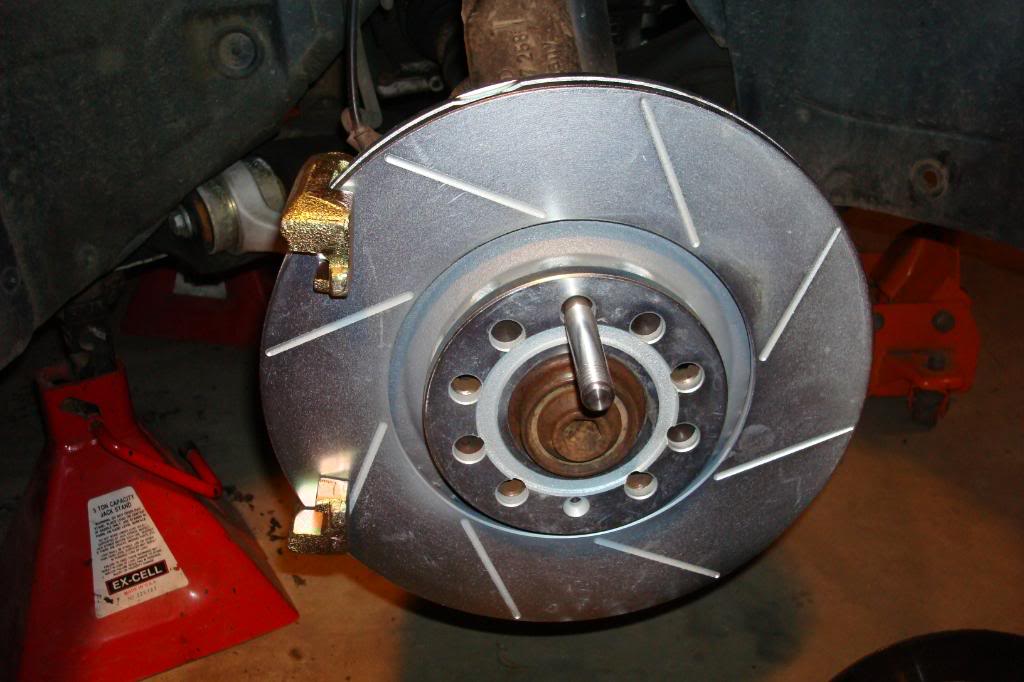
9) Using care to not get oil/grease/anti-seize contamination on the braking surface of your new rotors, place the rotor on the hub. While holding it in place, attach the new TT carrier and tighten to the specified torque. (92 ft/lbs)
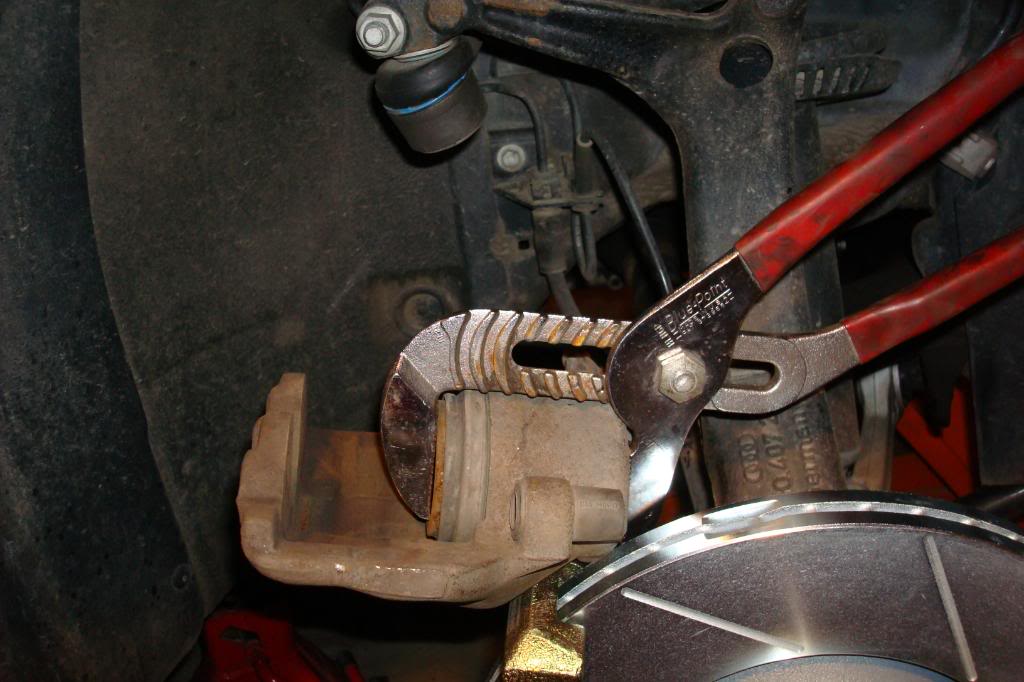
10) With a c-clamp or large water pump pliers, carefully squeeze the piston back into the caliper. Keep an eye on the level in the reservoir when you do this and if the level goes over the MAX mark, use a "turkeybaster" to remove some of the fluid and dispose of it appropriately.
11) Clean off any residue from the slider bolts and apply a very light coating of silicone grease to them, slide them back into the calipers.
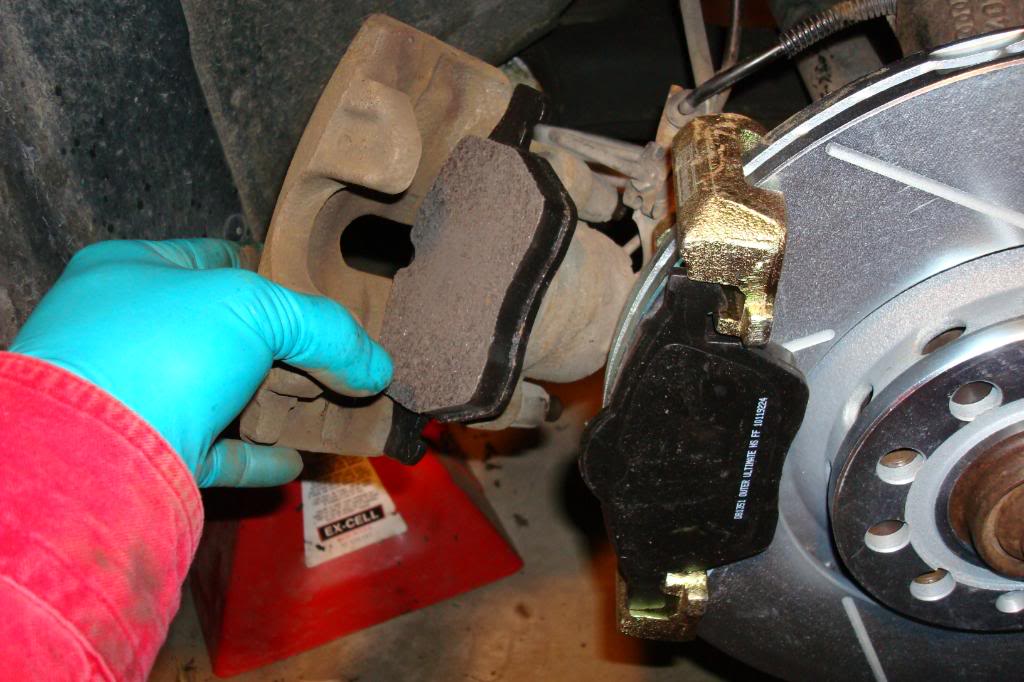
12) Again, using care to not get contamination on your new pads locate the inner pad with the spring into the piston. Place the outer pad in the grooves on the carrier. Slide the caliper over the outer pad and rotor and reattach with the slider bolts to the specified torque (18 ft/lbs). Replace the cover caps.
13) By first placing the open ends of the spring clip into the holes on the caliper, flex the spring back into position.

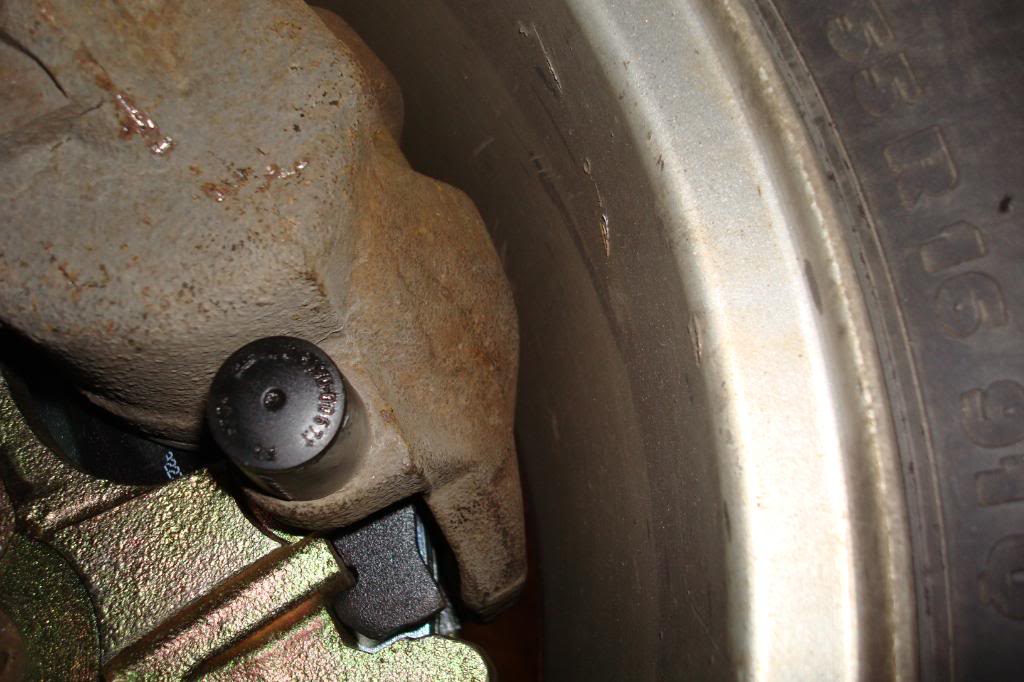
14) This is the view from under the car of the wheel/caliper clearance.
15) Mount the wheels back on the car. Lower the car. Tighten the wheels completely. Before going on your test drive, press the brake pedal down several times to get the pads to contact the rotor. Avoid hard stops for 100 miles or so to allow the pads to "bed" into the rotors.
questions or comments to manufan at audi forum or gkoch60@gmail.com
A fairly simple, affordable and effective upgrade. A8 312mm rotors with TT caliper carriers, to replace directly, the 288mm rotors and carriers of the A4's front brakes. WHEEL DIAMETER LIMITATION - no smaller than 16" diameter wheels.
1) After safely raising and supporting the front end of the car, remove the front wheels.
2) Beginning with the spring clip on the brake caliper, use a small flat blade screwdriver to lever the clip away from the caliper at the point where it enters the caliper.
3) Locate the (2) plastic plugs on the back of the caliper, pry them out with the same flat blade screwdriver.
4) Using a 7mm allen and ratchet, remove the (2) caliper slider bolts. [Installation note] torque these bolts to 18 ft/lbs during re-assembly. Lightly coat the slider surface with silicone grease.
5) Using a small pry bar or large screwdriver remove the caliper from the rotor. Swing caliper around and rest it on the lower control arm. Do Not allow it to hang from the brake hose.
6) Locate the (2) bolts holding the caliper carrier to the spindle housing. Using a 17mm socket and long ratchet, remove these bolts. They're VERY tight. If available, an impact gun can be helpful with these. [Installation note] torque these bolts to 92 ft/lbs during re-assembly with a light coating of anti-seize on them
7) Remove the caliper carrier and rotor. The rotor will fall off of the hub once the carrier is removed, use care to keep it from falling on your foot.
8) Using a wire brush and light oil, clean off the rust/scale from the hub.
9) Using care to not get oil/grease/anti-seize contamination on the braking surface of your new rotors, place the rotor on the hub. While holding it in place, attach the new TT carrier and tighten to the specified torque. (92 ft/lbs)
10) With a c-clamp or large water pump pliers, carefully squeeze the piston back into the caliper. Keep an eye on the level in the reservoir when you do this and if the level goes over the MAX mark, use a "turkeybaster" to remove some of the fluid and dispose of it appropriately.
11) Clean off any residue from the slider bolts and apply a very light coating of silicone grease to them, slide them back into the calipers.
12) Again, using care to not get contamination on your new pads locate the inner pad with the spring into the piston. Place the outer pad in the grooves on the carrier. Slide the caliper over the outer pad and rotor and reattach with the slider bolts to the specified torque (18 ft/lbs). Replace the cover caps.
13) By first placing the open ends of the spring clip into the holes on the caliper, flex the spring back into position.
14) This is the view from under the car of the wheel/caliper clearance.
15) Mount the wheels back on the car. Lower the car. Tighten the wheels completely. Before going on your test drive, press the brake pedal down several times to get the pads to contact the rotor. Avoid hard stops for 100 miles or so to allow the pads to "bed" into the rotors.
questions or comments to manufan at audi forum or gkoch60@gmail.com

 ))
))


#10
08-12-2008, 05:09 PM

i noticed that my pedal wasn't as "grabby" after i did the a8 brake upgrade, much smoother initial braking, but when you really get into it, it yanks the car down from any speed, without a problem.
less dust, less noise, smoother initial braking, firmer/quicker "hard braking" stops.
and the car tracks straight under very hard braking, it doesn't follow the road contours at all.
in addition to the slotted/x-drilled rotors, i also installed hawk hps pads.
i am VERY pleased with the upgrade, well worth the $400 or so it cost me.